
I’ve spent the last seven weeks trying to convince you of the merits of adopting a better system to supercharge your productivity: calendaring.
This is the final post (for now…) on calendaring so I thought I’d do something special and made you a gift.
Embedded in this week’s post is a free scheduling template so you now have a tool to put into practice that which I’ve shared with you in the last seven posts!
As a recap, here are all the calendaring-related posts:
Enroll now in CHARTING CONQUERED! Doors close 6/17 at 11:59pm PT
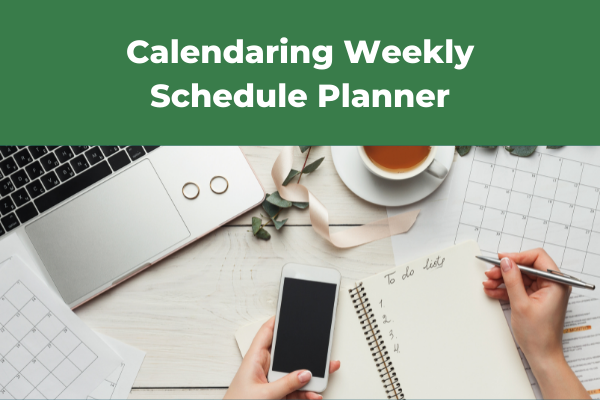
The Calendaring Weekly Schedule Planner

To grab a copy of the planner sheet, click the image above or click here.
After you have it in hand, download and save it and print off copies as needed for yourself to use. It should fit on regular printer paper (8.5” x 11”) in landscape orientation. Some printers may cut off of the outside borders but no biggie there.
Step 1: Fill in the Dates
Sit down with this planner maybe with a select beverage of choice (for me that’s water—did I mention I’m super fun?) and give yourself 10-20 minutes to work through this.
The first thing to do is to fill in all the dates corresponding to the days of the week across the top. If I’ve not made it apparent yet, this is a weekly planner so you’ll need a new one each week.
Step 2: Do Your Task Dump
Next, go to the left side of the document and do the brain dump of all the tasks you have to accomplish for the week. The order here does not matter so just do it stream of consciousness.
Step 3: Categorize Tasks
Now categorize each task as a “simple task” (“ST”) or “deep work” (“DW”).
As you may recall, simple tasks are those things that don’t require much mental bandwidth, but still need to get done. They take up time but don’t require deep focus.
Conversely, deep work requires undivided attention, usually in larger, carved out chunks of time. You need to get in the zone which necessitates no interruptions and using the time(s) of the day when you’re at your prime in terms of energy and focus.
Step 4: Estimate Time to Complete Tasks
The last column in the task section asks you to estimate the amount of time you think each item will take or that you would like to assign to each item.
Rough estimations are fine. Remember, this is an iterative process and you’ll get better at predicting how long things will take you. You’ll also get more efficient at completing them, and thus will be able to reduce your time estimates accordingly!
Step 5: List Priorities for Each Day
Things get more interesting as you get to the daily schedule portion of the planner!
First, list out your top three priorities (in order) that you need or want to complete that day. When it comes time to schedule in your tasks, these will be the first ones for which you will make time.
As you write down these priorities, make sure to cross them off of your Task Dump list.
Step 6: Calendar in Your Framework
Next, you will schedule in your existing basic framework for your day, blocking off time for sleeping and eating, etc.
Note: the planner is biased towards daywalkers because I didn’t have space to include all 24 hours. If you’re nocturnal, feel free to write over the times listed to ones that work for you!
Step 7: Calendar in Your Tasks
At last, you get to the meat of the calendaring: scheduling in your tasks!
Focus on the priorities first and chunks of time for deep work tasks. Be sure to cross these off from either the Priorities or Task Dump lists as you schedule them in.
Then work in the simple tasks into the rest of the schedule or at times when convenient and when interruptions/distractions won’t sideline your overall progress on your big goals.
Feel free to get creative and use different shades of coloring pencil, for example, to more visually block of time. This can also be useful for items that fall on the half hours (which are not written into the template for ease of reading).
Don’t forget to build in margin for yourself!
Step 8: Capture Your Creativity
The bottom left of the planner is cordoned off for any ideas that come to you while you’re in the planning phase. This is so you don’t have to stray away for any thoughts or ideas you want to come back to later. Capture them here and get right back to calendaring!
Step 9: Jot Down Future Tasks and/or Those Not Completed
Finally, the last portion of the planner.
This section in the bottom right serves two functions.
First, it allows you to write down future tasks that come to mind as you’re planning out your schedule. Some may be derivatives of tasks for this week.
Second, I encourage you to review your weekly schedule at the end of the week to see what did not get done and move it to this section. Then, when it comes around for next week’s calendaring session, you can quickly move these tasks to next week’s task list, if appropriate.
You can also consider deleting them or delegating them, depending on if they actually need to get done. See here for a decision matrix to help with this.
Step 10: Celebrate!
Yay, you did it! You overcame inertia and ingrained habits to take action and try something new!
Reward yourself with something special! Let the festivities commence!
(But don’t forget to schedule it in!) 
I hope you try out the calendaring weekly schedule planner! And I’d love to hear your feedback—is it helpful? What works? What doesn’t? Let me know in the comments section below.
If you haven’t subscribed to my email list, then do so below so you don’t miss my new posts or my weekly updates (only for subscribers).
I’d also be most appreciative if you shared this post with anyone whom you think would benefit from the content or message of the blog. They may similarly be most appreciative  .
.